
























One day a year, bread takes centre stage in the kitchen, and that deserves more than a quick spin in the toaster. On the Day of Bread you celebrate the craft, the aroma and the unmatched crispness of a freshly baked or just-toasted slice. The secret behind that result? The pan you bake, toast or even bake it in yourself.
Why the pan makes the difference for bread
A toaster gives you heat from two sides and a timer. That is it. A pan gives you control over the temperature, the option to add fat or butter and an even crust formation that you simply cannot get in a toaster. The heat builds up gradually and you can give every slice exactly the attention it deserves.
What is more, a pan works for every type of bread: from a thick slice of sourdough to a fluffy brioche. Your toaster gives up on thicker slices, a pan just keeps going.
The history of toasted bread
Toasting bread is not a new art. Thousands of years ago, people were already laying flatbreads on hot stones or in cast iron pans over an open fire. The toaster as we know it has only been around since the early twentieth century, while pan toasting has been the superior method among bakers and chefs for centuries.
Today you pick up that tradition again, with a pan on your induction hob instead of an open hearth. The result remains the same: bread with character.
Which pan do you choose for which bread?
Not every pan is built for every bread. Your choice depends on what you want to achieve and which bread you are holding.
- Flatbread and bruschetta: pick a grill pan for those signature stripes and a lightly smoky flavour. Have a look at our grill pans.
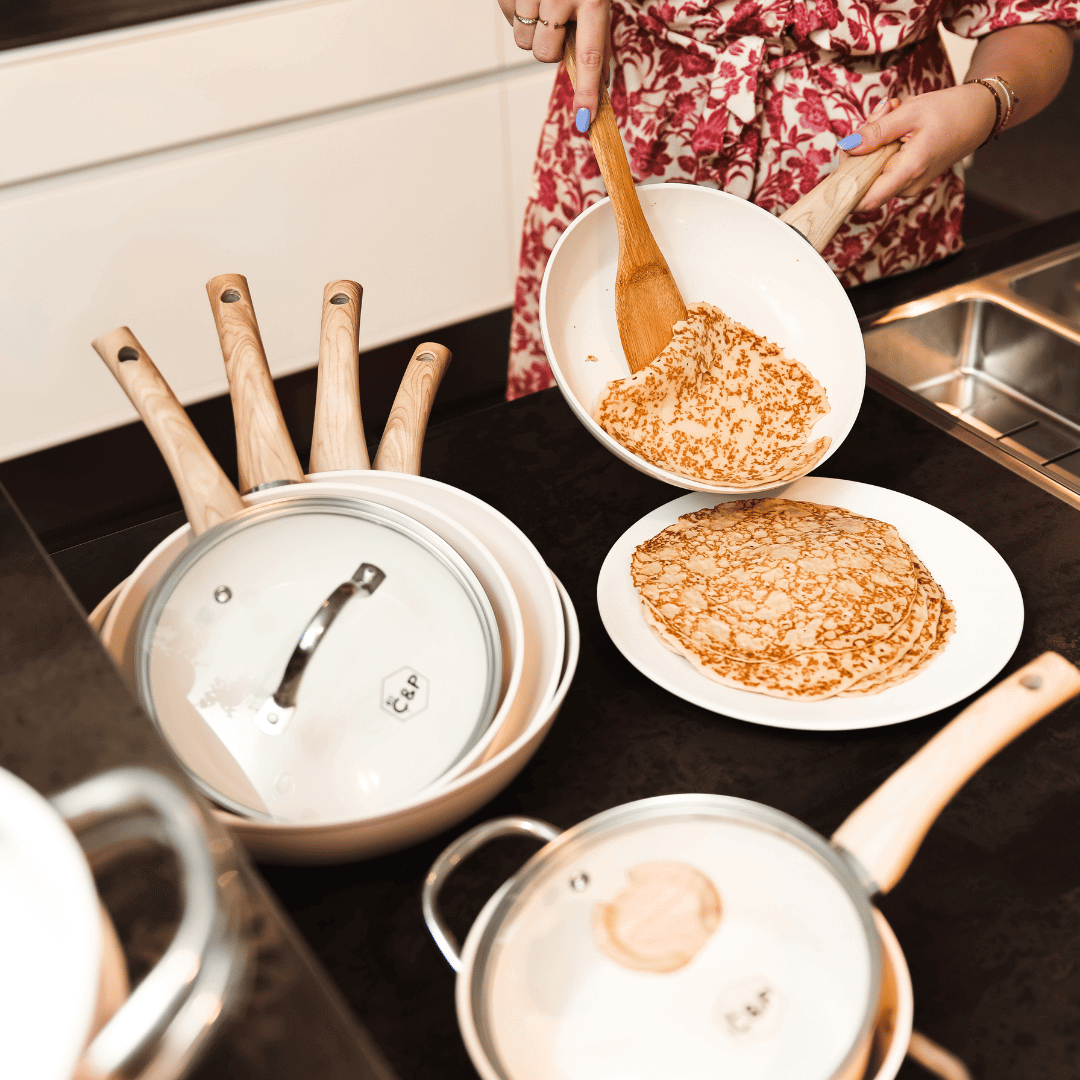
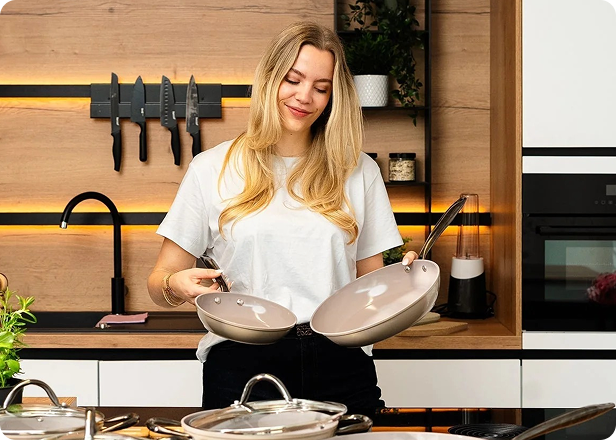
- White bread or brioche: a good frying pan with a knob of butter works wonders.
- Sourdough or artisan bread: a cast iron pan holds heat steady and gives a crisp crust.
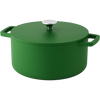
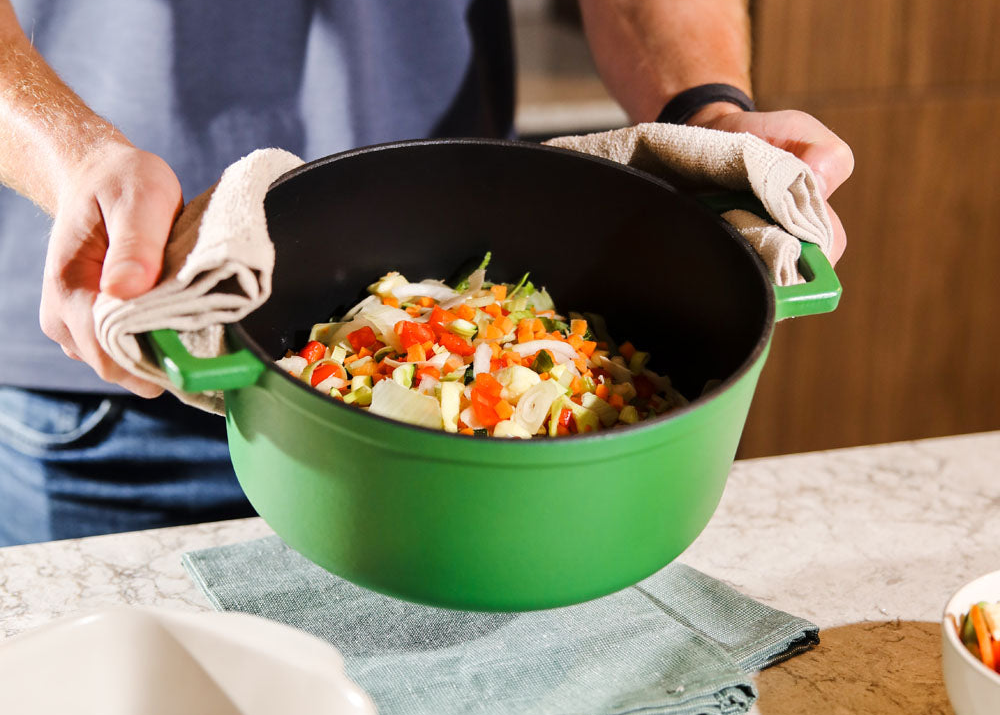
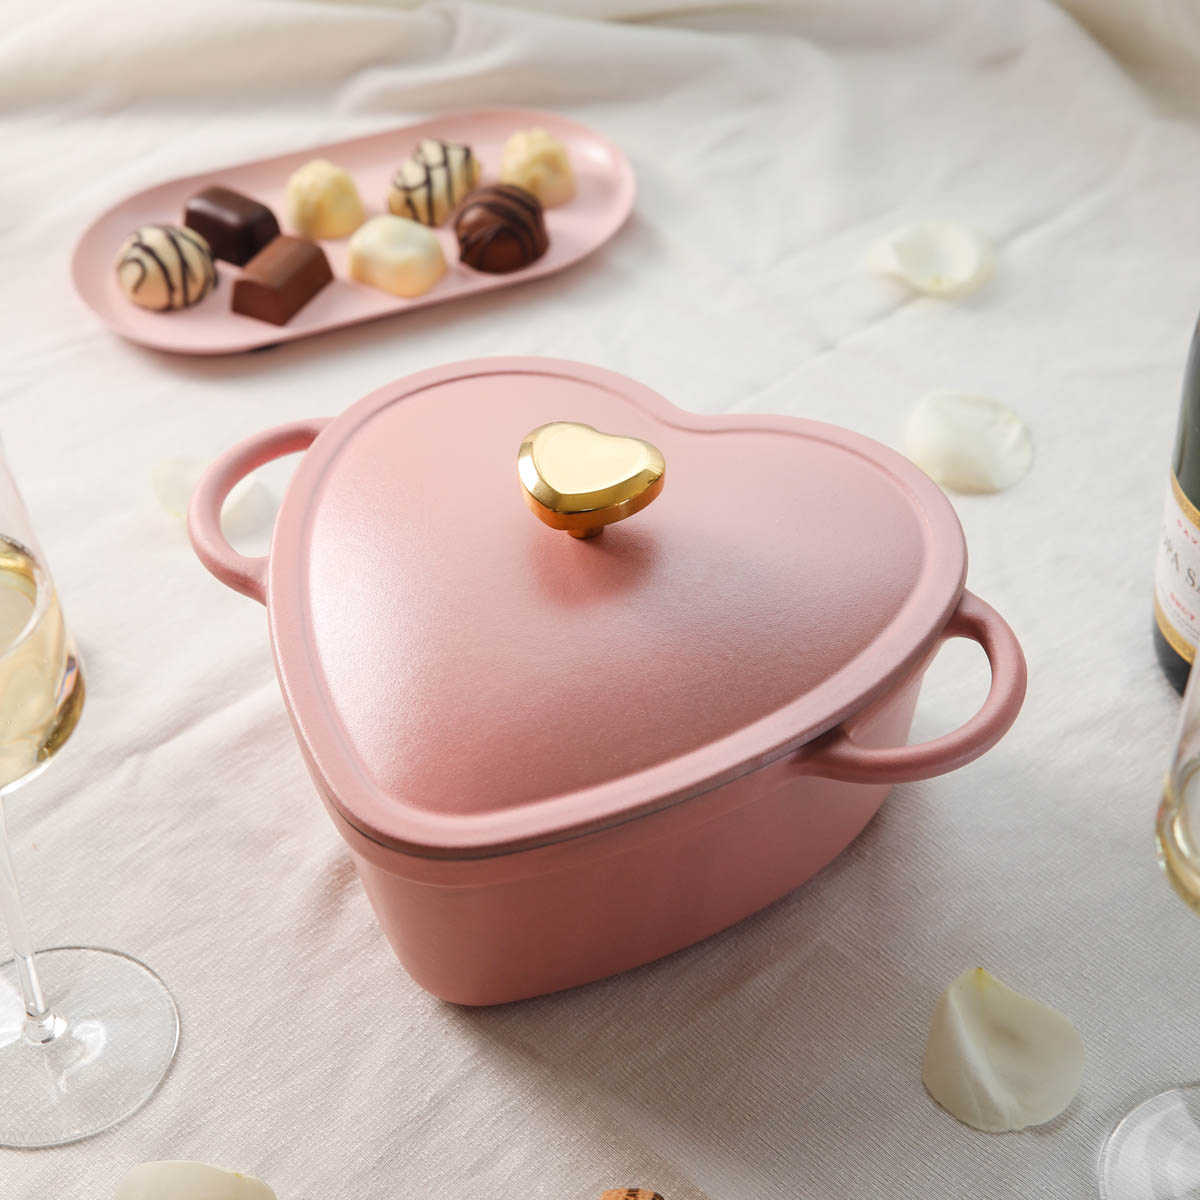
- Home-baked bread: a cast iron dutch oven with lid turns your oven into a professional bakery.
- Healthy breakfast: a PFAS-free frying pan keeps your toast free from harmful substances.
The grill pan for classic stripes
The grill pan is your best mate for bruschetta, panini and anything you want grill marks on. The ridges make sure the bread only partly touches the pan, so you get stripes and the rest gets lightly toasted. Fats and juices run off between the ridges, which makes your slice drier and crispier.
Tip: lightly brush the top of the bread with olive oil before placing it in the pan. That gives you a golden crust and more intense flavour. Use oil with a high smoke point such as mild olive oil or peanut oil.
The frying pan for the ultimate butter toast
Nothing beats bread toasted in butter. A frying pan on medium-high heat, a knob of butter melting gently and a slice of bread quietly turning golden brown. The flavour is rounded, the crust delicate and you do not need a device that takes up half your worktop.
Works best with slices 1.5 to 2 centimetres thick. Too thin and you get rock-hard toast, too thick and the inside stays cold. Adjust the heat to the thickness: thinner bread needs slightly less fire.
Cast iron: the absolute champion
Ask a professional which pan they use for bread and you always get the same answer: cast iron. The heavy base holds heat incredibly well and passes it to every corner of the bread. The result is a crispy crust, even browning and an inside that holds exactly the right texture.
Always preheat your cast iron pan gradually for 2 to 3 minutes on low temperature. That is essential: heating too quickly can cause warping and is bad for the pan in the long run. Patience pays off, because once up to temperature, cast iron is unbeatable.
Bake your own bread in a cast iron dutch oven
Want to go further than just toasting? Bake your own bread. A cast iron dutch oven with a lid works like a mini oven inside your oven. The heat stores in the heavy material and the steam released by the dough stays trapped under the lid. That gives your bread a thick, crispy crust you would normally only get in a professional stone oven.
Preheat the dutch oven including its lid in the oven at 230 degrees, place your dough in carefully (use baking paper for ease), put the lid on and bake the first 20 minutes covered. Then take the lid off and bake another 20 to 25 minutes for that perfect golden brown colour.
Tips for perfectly toasted bread
A few basic rules and your toast turns out top every time:
- Always preheat the pan: a cold pan draws moisture from the bread and gives you a chewy instead of crispy crust.
- Do not move it too much: place the bread and let it rest. Sliding and pressing disturbs crust formation.
- Flip once: when the first side is golden brown, flip the bread. Not earlier, not later.
- Butter, oil or both: butter gives flavour and colour, oil gives a crispier crust. The combination gives you the best of both worlds.
- Watch the temperature: medium-high is almost always enough. Too high and the outside burns before the inside is warm.

Toasting bread on induction: keep this in mind
On induction everything moves fast, sometimes too fast for bread. The butter can burn before you notice and your slice goes black on the outside while the inside is still cold. Keep your power level at maximum 80 percent and never use the boost function. With cast iron, 70 to 80 percent is already plenty.
Another benefit of induction: you can dial back instantly if you notice things going too fast. Use that. Better one minute longer than a burnt slice.
Which fats do you use for bread?
Not every fat is suitable for toasting bread. You want something with flavour, but also something that handles heat. Our top three:
- Butter: classic, full-flavoured, but not at high heat. Use at medium-high.
- Mild olive oil: higher smoke point than extra virgin, perfect for Mediterranean bread and bruschetta.
- Peanut oil: neutral flavour and high smoke point, ideal when you really need high temperatures.
What you better leave alone: extra virgin olive oil above 180 degrees and cooking sprays. The latter leave a sticky film that damages your pan and adds nothing to the flavour.
Common mistakes when toasting bread
Even with something as simple as toasting bread, things sometimes go wrong. The most common mistakes:
- Pan too cold, so the bread loses moisture instead of crisping up.
- Heat too high, so the outside burns and the inside stays cold.
- Too much movement in the pan, disturbing crust formation.
- Wrong fat, like extra virgin olive oil at high temperature, giving bitter notes.
- Forgetting to preheat cast iron gradually, leaving you with warped pans.
Choosing the right pan for your kitchen
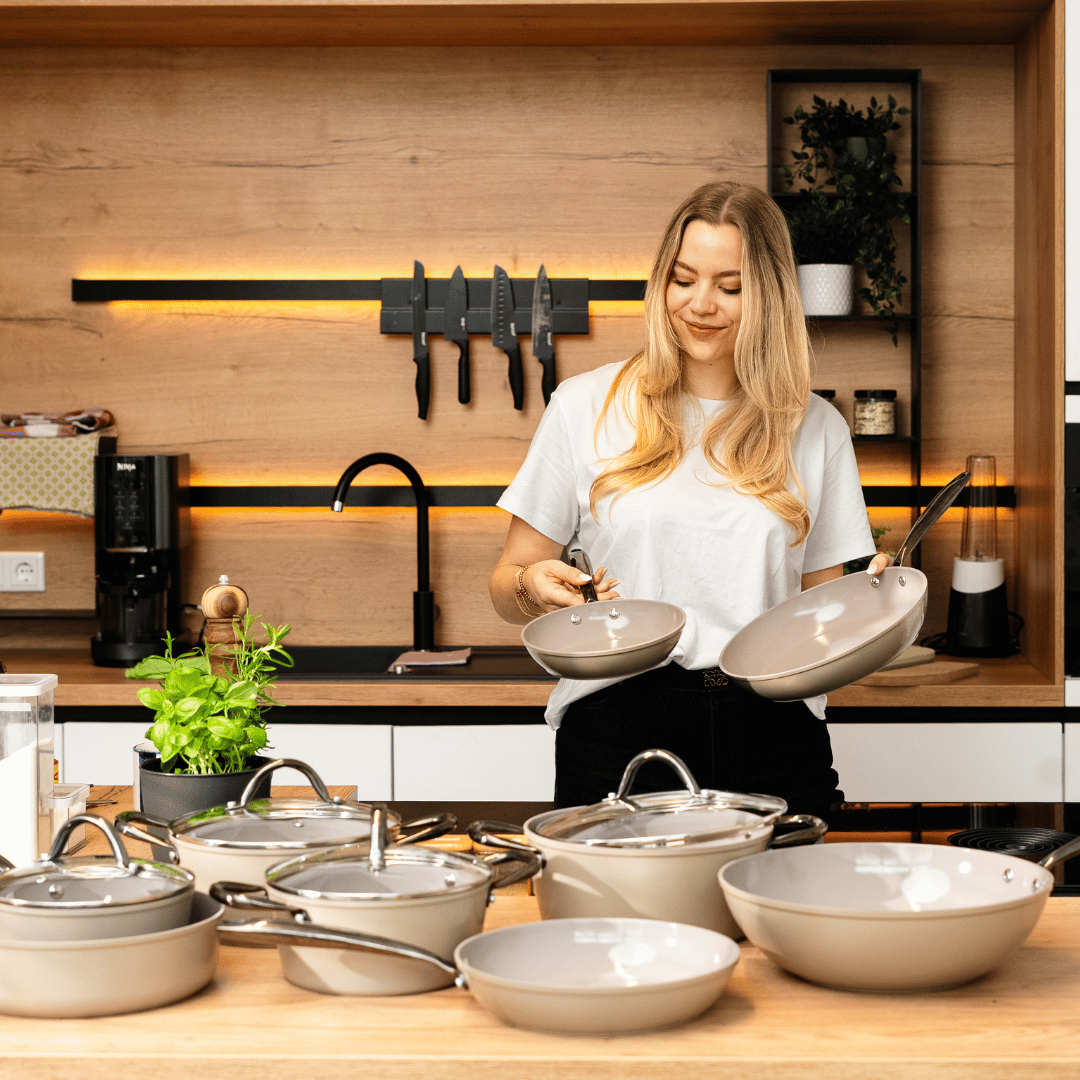
Torn between all the options? Start with the basics. A good frying pan covers 80 percent of your daily toasting work. Want to go a step further? Add a cast iron pan for that professional crust. And for those who want to get everything out of the bread: a dutch oven with lid for baking your own.
Also read our guide on buying a pan set without choice stress if you are just starting out, or get inspired by which pan suits your cooking style. For a healthy basis, check our PFAS-free pans guide.
Celebrate the Day of Bread with the right pan
Bread is one of the oldest and most universal dishes in the world. And the pan in which you toast or bake it determines whether it is just breakfast or a real moment. Whether you go for the stripes of a grill pan, the buttery touch of a frying pan or the artisan approach of cast iron: your bread will thank you.
Have a look at our full pans collection and find that one pan to celebrate the Day of Bread every single day.
💡 Please note: we love cooking with boldness, but safety always comes first. Read more on our disclaimer page.


